Disclosure: This website is a participant in various affiliate programs, including the Amazon Services LLC Associates Program, an affiliate advertising program designed to provide a means for sites to earn advertising fees by advertising and linking to Amazon.com. As an Amazon Associate, we earn from qualifying purchases. We also participate in other affiliate programs and may earn commissions through purchases made through our links. Any opinions, reviews, recommendations, or endorsements expressed on this site are our own and are not influenced by any third-party products or services being promoted.
If you’ve ever spotted someone’s screen on Instagram or TikTok filled with perfectly organized planner pages, chances are you’ve seen GoodNotes or something just like it. Digital planning has exploded in popularity… and honestly, it’s easy to see why. It’s customizable, portable, and way more forgiving than paper when you make a mistake. Whether you’re in that new year, new me mindset or gearing up for back-to-school season, this cozy little guide will help you start your digital planning journey with confidence.
What's covered in this post
1.Choose Your App
While GoodNotes is the go-to for many iPad users, there are other great options like Notability, Noteshelf, and ZoomNotes. On Android or Windows? Noteshelf is a solid pick. The good news… most digital planners (including mine) work across multiple apps, so you can pick what feels best for you.
2. Pick Your Digital Planner
Once your app is ready, you’ll need a planner file… usually a clickable PDF. If you’re brand new, start with a freebie. You can grab my Digital Planner Vault packed with starter templates and goodies. Ready to upgrade? Seasonal or themed inserts like these ones are perfect for keeping your planner feeling fresh year-round.
3. Gather Your Tools
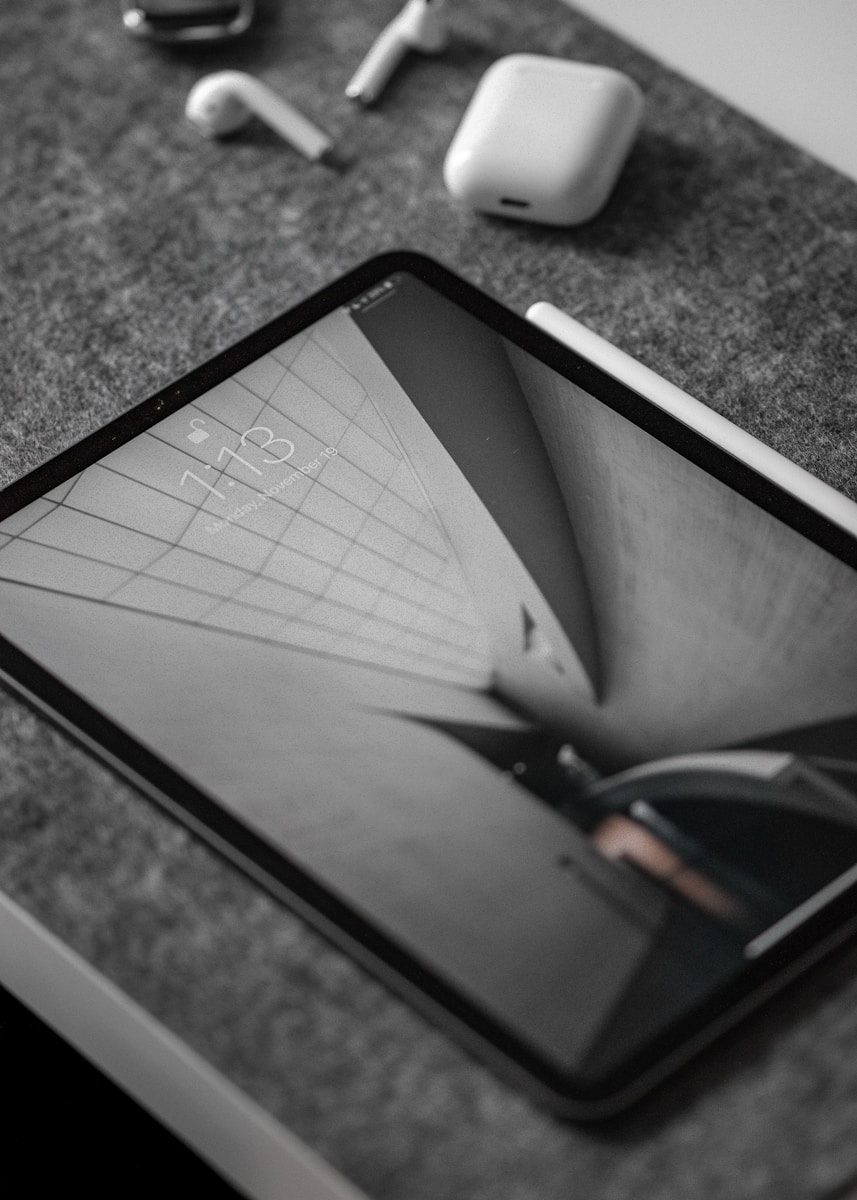
A good stylus changes everything. If you’re on iPad, the Apple Pencil is the gold standard… but there are budget-friendly styluses for other tablets too. Once you’ve got your pen, make it fun! Add digital sticker packs or digital washi tape to bring some personality to your pages.
4. Learn the Basics
- ✨ Importing your planner file into your app
- ✨ Adding new pages when needed
- ✨ Using the lasso tool to move and resize text or stickers
- ✨ Creating your own templates for layouts you use often
Need help? I’ve got beginner tutorials on my YouTube channel to walk you through everything.
5. Make It Yours
This is where the magic happens. Switch covers with custom planner covers, use matching digital paper packs for backgrounds, and keep a library of stickers for different seasons, moods, and themes.
6. Keep It Fresh All Year
Your planner doesn’t have to look the same in July as it did in January. Switch up your layouts and inserts each season… spring florals, summer bucket lists, fall goals, cozy winter trackers. The more inspired you feel, the more likely you are to keep using it.
🌟 Ready to Get Started?
- 📺 Watch my GoodNotes tutorial playlist
- 🛒 Shop my favorite digital planning tools

Leave a Reply