Disclosure: This website is a participant in various affiliate programs, including the Amazon Services LLC Associates Program, an affiliate advertising program designed to provide a means for sites to earn advertising fees by advertising and linking to Amazon.com. As an Amazon Associate, we earn from qualifying purchases. We also participate in other affiliate programs and may earn commissions through purchases made through our links. Any opinions, reviews, recommendations, or endorsements expressed on this site are our own and are not influenced by any third-party products or services being promoted.
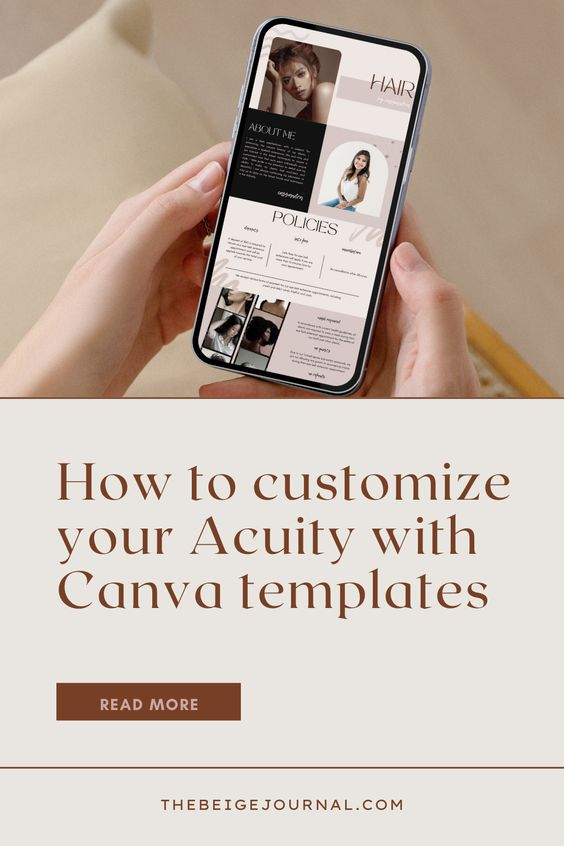
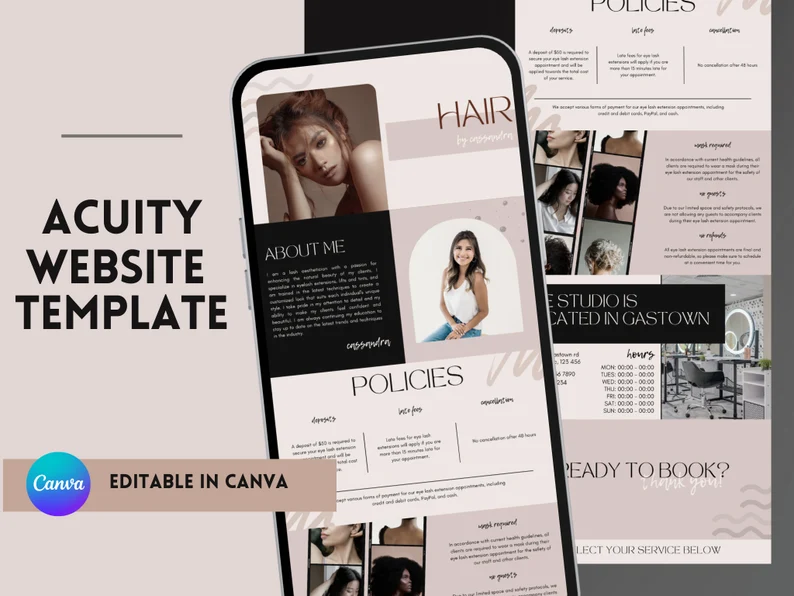
Acuity Scheduling is a popular online scheduling tool that makes it easy to book appointments, manage clients, and keep track of your schedule. To make it even more functional and appealing to clients, you can customize it with Canva templates.

Here are the steps to customize Acuity Scheduling with Canva templates:
What's covered in this post
Sign up for Canva:
If you haven’t already, sign up for Canva, an easy-to-use graphic design tool.
Find a template on Etsy
We have a few you might be interested in, available in our shop!
Customize the template
Once you have selected a template, use Canva’s design tools to add your logo, change the colors, and update the text to reflect your brand.
Save your design
When you’re happy with your design, save it as a PNG or JPG file.
Add the design to Acuity Scheduling
In Acuity Scheduling, go to the “Branding” section and select “Customize branding”. From there, upload the PNG or JPG file you just saved from Canva.
Preview and publish
Preview your design to make sure it looks exactly how you want it. If it does, publish your changes to make them live.
By customizing Acuity Scheduling with Canva templates, you can make your scheduling tool more visually appealing and reflective of your brand. This will help you attract more clients and make a better impression on those who use your scheduling tool.
The combination of Acuity Scheduling and Canva provides a great platform to help you manage your schedule, while also making it more visually appealing and professional. Get started today and start customizing your Acuity Scheduling!