Disclosure: This website is a participant in various affiliate programs, including the Amazon Services LLC Associates Program, an affiliate advertising program designed to provide a means for sites to earn advertising fees by advertising and linking to Amazon.com. As an Amazon Associate, we earn from qualifying purchases. We also participate in other affiliate programs and may earn commissions through purchases made through our links. Any opinions, reviews, recommendations, or endorsements expressed on this site are our own and are not influenced by any third-party products or services being promoted.
✨ Digital planning has taken the organization world by storm — and for good reason! Whether you’re going fully paperless or simply want a low-cost way to start planning without stacks of paper and piles of pens, a digital planner can be the perfect fit. While paper planning can still be fun (especially if you’re into stickers and fancy pens), digital planning brings that same creativity… without the clutter.
All you really need to get started is a tablet. From there, you can explore the endless creative and productivity possibilities of digital planning. This guide will walk you through what you’ll need, how to use your tools, and where to find gorgeous digital planning accessories that you can reuse forever.
What's covered in this post
🛠 What You’ll Need to Start Digital Planning
Here’s your starter kit — many of these you may already own! I’ve linked my recommended products and affiliate picks so you can easily find what works for you.
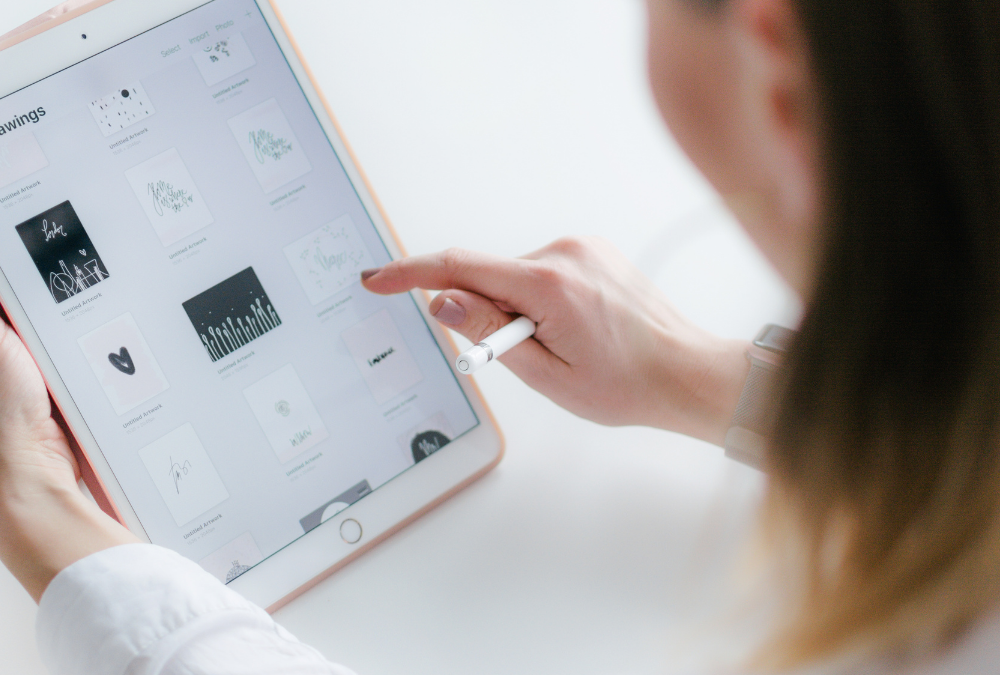
- 📱 A Tablet – An Apple iPad or an Android tablet. Choose one with stylus support for the best writing experience.
- ✏️ A Stylus – I use the Apple Pencil for iPad or this Android-compatible stylus.
- 📓 A PDF Annotation App – My top pick is GoodNotes (iOS) or Noteful. These let you write, type, highlight, and organize your planner pages.
- 🗂 A Digital Planner or Notebook – You can find beautiful ones in my planner shop recommendations or get my free digital planner to start (below).
✍️ Typing & Writing
Most digital planner apps, like GoodNotes, have a pen tool for handwriting. You can change pen colors, thickness, and styles. The Apple Pencil makes writing feel natural, and you can erase with precision. If handwriting isn’t your thing, switch to the text tool, choose your font, and type directly into your planner.
🎨 Accessories for Digital Planning
One of the biggest perks of digital planning? You can reuse your accessories forever! Try:
- Digital sticker packs
- Digital washi tape sets
- Seasonal and themed planner inserts
- Custom digital planner covers
- Matching digital paper packs
Unlike paper stickers, you can move, resize, and reuse these digital accessories as often as you like. It’s budget-friendly and endlessly customizable.
🗒 Moving Text
Need to adjust your layout? Use your app’s “lasso” or “hand” tool to move, resize, or rotate text and stickers. This is great for adjusting monthly layouts or adding notes in unused margins.
📅 Undated Planners
Undated planners are a smart, budget-friendly choice. They let you start anytime and reuse them year after year. Look for ones with spacious layouts for notes, goals, and habit tracking — like the ones in my free digital planner.
🖍 Highlighting
Highlight important dates, to-dos, or inspiring quotes. You can customize highlight colors to match your theme, adding personality to every page.
✂️ Duplicating & Moving Drawings
Use the lasso tool to circle an object you’ve drawn, then copy and paste it anywhere. Perfect for reusing icons, banners, or doodles across multiple pages.
📄 Adding & Rearranging Pages
Most digital planners let you duplicate pages, insert new ones, and rearrange them however you like. This means your planner can grow and change with your needs.
